 RSS Feed
 Twitter


 2:26 AM
 Uttam Kr Biswas
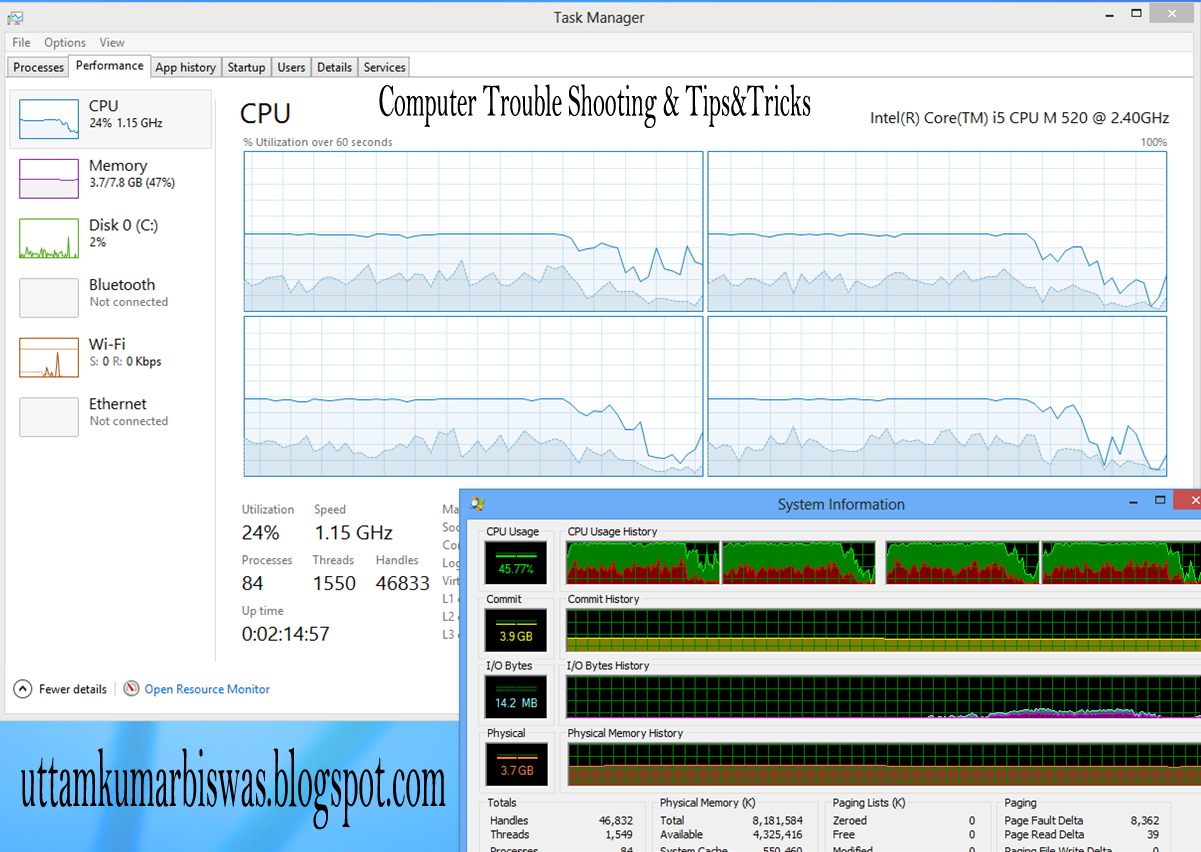
Improve Your PC Performance & Make Your System More Faster
Either You Have Upgraded To Windows 8 Or Buy A New PC Or Laptop Of Windows 8 You Can Even Boost Up Speed Of Windows. Usually, Problem Arises When You Upgrade To Windows 8 On Existing PC. Old Hardware Can Make It Little Slow But You Can Still Optimize Windows 8 And Get Some Speed To Go A Long Way. Then I am Trying To Speed Up Your System By Some Tips And Tools
Perform Tasks That Can Help Improve Performance......The Tasks In The Left Pane Of Performance Information And Tools Can Help You Improve Your PC's Performance. Open Performance Information And Tools By Swiping In From The Right Edge Of The Screen, Tapping Search (Or If You're Using A Mouse, Pointing To The Upper-Right Corner Of The Screen, Moving The Mouse Pointer Down, And Then Clicking Search), Entering Performance Information And Tools In The Search Box, Tapping Or Clicking Settings, And Then Tapping Or Clicking Performance Information And Tools.
1. Adjust Visual Effects
Some Visual Effects Can Slow Down Other Tasks On Your PC. You Can Turn These Effects On And Off And View More Options.
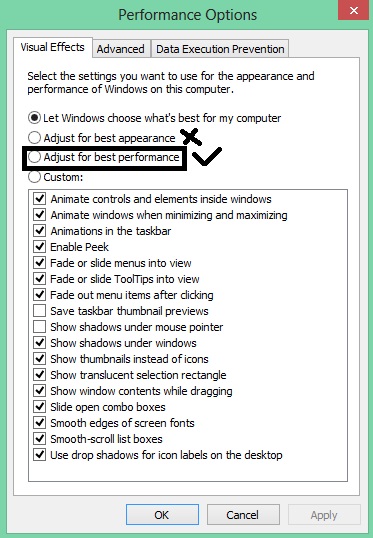
2. Disable Animations
Windows 8 Has Some Animations That Works When You Minimize, Maximize A Window. You Must Have Noticed It Fade Out And Fade In When You Minimize, Open Or Close. It Consumes Your Computer Processing Memory. You Can Disable This And Can Feel A Faster PC. You Can Do This In A Simple Way.- Press Win + R
- Type ‘Command’ And Press Enter
- Now Type Systempropertiesadvacned and Press Enter
- You Can View System Properties with Advanced Tab
- Now Click Setting Button in Performance Section
- Now You Can See a Performance Option Window
- You Can Uncheck Boxes on Animations That You Don’t Want To See Or You Can Use ‘Adjust For Best Performance’
- Click Ok
3. Adjust Indexing Options
If It's Taking Too Long To Search For
Things On Your PC, You Can Narrow Your Search To Focus On The Files And Folders
That You Most Commonly Use. If You Need To Free Up Space On A Hard Disk, You Can
Change The Location Of The Index. If You Change This Location, The Windows
Search Service Will Automatically Be Restarted, And The Change Will Not Go Into
Effect Until The Restart Is Complete.
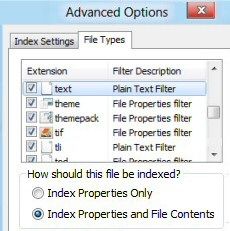
Open Indexing Option
Click Start Button
Then Clicking Control Panel.
In The Search Box, Type Indexing Options, And Then
Click Indexing Options. Click Advanced.
If You're Prompted For An
Administrator Password Or Confirmation, Type The Password Or Provide Confirmation. In The Advanced Options Dialog Box, Click The Index
Settings Tab.
4. Optimize Your Drives
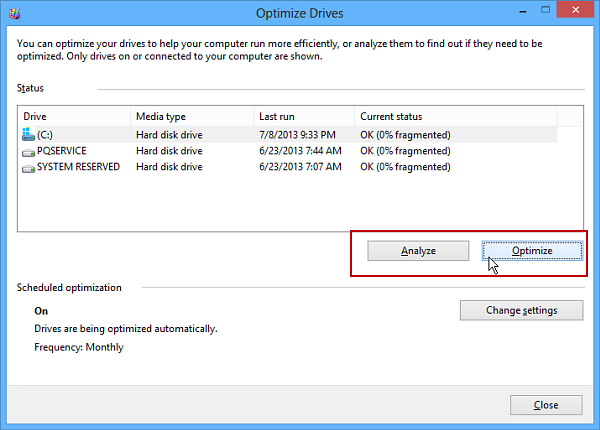
Windows 8 Has Also Introduced A New And Improved Feature “Optimize Your Drives” Which Is Previous Known As “Disk De-Fragmentation” In Previous Windows Operating System Like Windows XP, Windows Vista And Windows 7. Keeping Your Hard Disk And Solid State Drive (SSD) Optimized Is Good Option For Speeding Up Your Windows 8. For Turning On This Feature Select Your Drive You Want To Get Optimized. Then Select Its “Settings” And Click On “Defragment And Optimize Your Drives”.
5. Adjust Power Settings
Some Power Settings On Your PC Are Designed To Use Less Power From Your Battery To Make It Last Longer. You Can View And Change Settings To Balance Your PC The Way You Want To Between Higher Performance And Longer Battery Life.

To Make a Custom Power Settings Go To Run (Windows+R) Type powercfg.cpl Its Will Bring Power Configuration Wizard No Set It As Your Choice
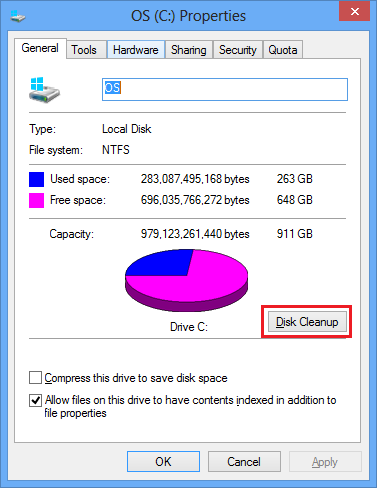
6. Open Disk Cleanup
This Tool Deletes Unnecessary Or Temporary Files On Your Hard Drive So You Can Increase The Amount Of Free Storage Space. Windows Inbuilt Utility Software ‘Disk Cleanup’ Can Help You To Make Pc Faster. It Can Also Delete Temporary Files, Empty Recycle Bin, And Other Items That Are Of No Use. To Do This Go To Drive Properties>>General>>Disk Clean UP
Now Choose Drive That You Want To Clean
In Disk Clean Up Tab Check Boxes That You Want To Delete An Click Ok
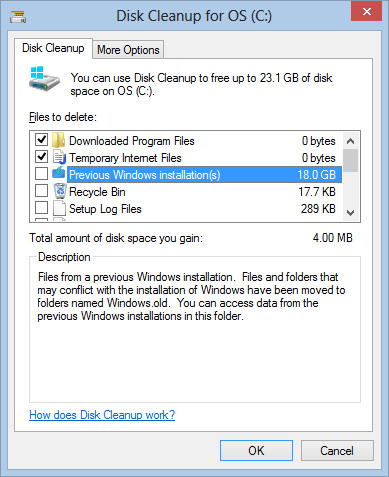
Now Its Will Calculate How Much Free Space You Will Get After This Performance
Now You Will Asked For Confirmation Click Delete Files
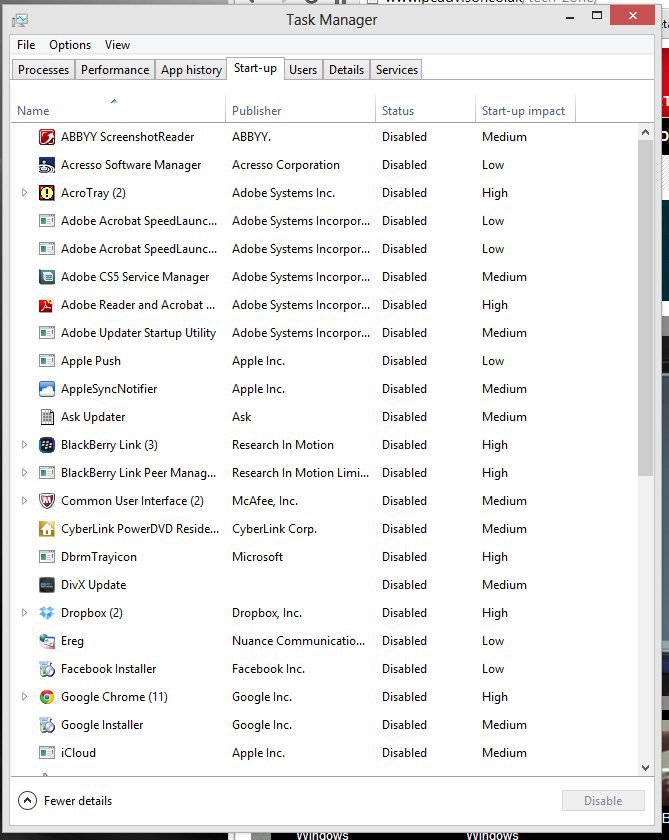
7. Disable Start up Program
Stop An App From Running Automatically When Windows Starts...Whenever Your Computer Boot, It Used To Read Programs That Are On Startup. These Are Programs That You Have Installed Over The Time And Forgot To Uninstall Or Disable At Startup. Such Kinds Of Programs Are Burden On Your PC And You Should Deal With Them As Soon As Possible. It Will Reduce Boot Time And Speed Up Computer. You Can Do This By Two Simple Way.Lunch Task Manager
Start UP
Uncheck Programs That You Feel Unnecessarily Loading
Click Apply And Ok
It Will Prompt You To Restart
Changes Will Take Place Once You Will Restart
- Press Win + R
- Type ‘msconfig’ And Press Enter
- Choose Startup Tab
- Uncheck Programs That You Feel Unnecessarily Loading
- Click Apply And Ok
- It Will Prompt You To Restart
- Changes Will Take Place Once You Will Restart
8. Speed Up Your PC With Readyboost
Readyboost Can Speed Up Your PC By Using Storage Space On Most Flash Memory Cards And USB Flash Drives. If You Have a Storage Device That Will Work with Ready Boost, You'll See An Option To Use Readyboost When You Plug It Into Your PC. If You Select This Option, You Can Choose How Much Memory On The Device To Use For Speeding Up Your PC.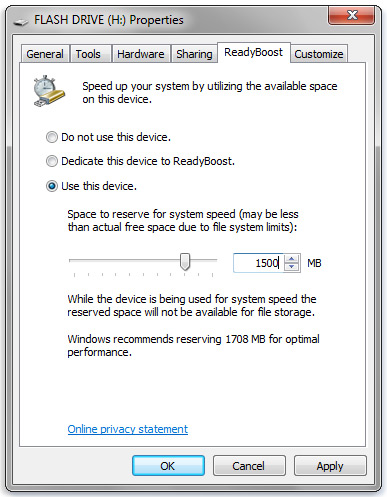
Turn on ReadyBoost
- Plug A Flash Drive Or Flash Memory Card Into Your Computer.
- In The Autoplay Dialog Box, Under General Options, Click Speed Up My System.
- In The Properties Dialog Box, Click The Readyboost Tab, And Then Do One Of The Following:
- To Turn Readyboost Off, Click Do Not Use This Device.
To Use The Maximum Available Space On The Flash Drive Or Memory Card For Readyboost, Click Dedicate This Device To Readyboost. Windows Will Leave Any Files Already Stored on the Device, But It'll Use the Rest to Boost Your System Speed. To Use Less Than The Maximum Available Space On The Device For Readyboost, Click Use This Device, And Then Move The Slider To Choose The Amount Of Available Space On The Device You Want To Use. Click OK.
Note: For Readyboost To Effectively Speed Up Your Computer, The Flash Drive Or Memory Card Should Have At Least 1 Gigabyte (GB) Of Available Space. If Your Drive Or Card Doesn't Have Enough Available Space For Readyboost, You'll See A Message Telling You To Free Some Space On It. For Best Results, Use A Flash Drive Or Flash Memory Card With At Least Double The Amount Of Available Space As The Amount Of Memory (RAM) In Your Computer.
Please Dont Forget To Share With Your Friends And Followers


